How to Prepare Your App Store Listing Before Launch
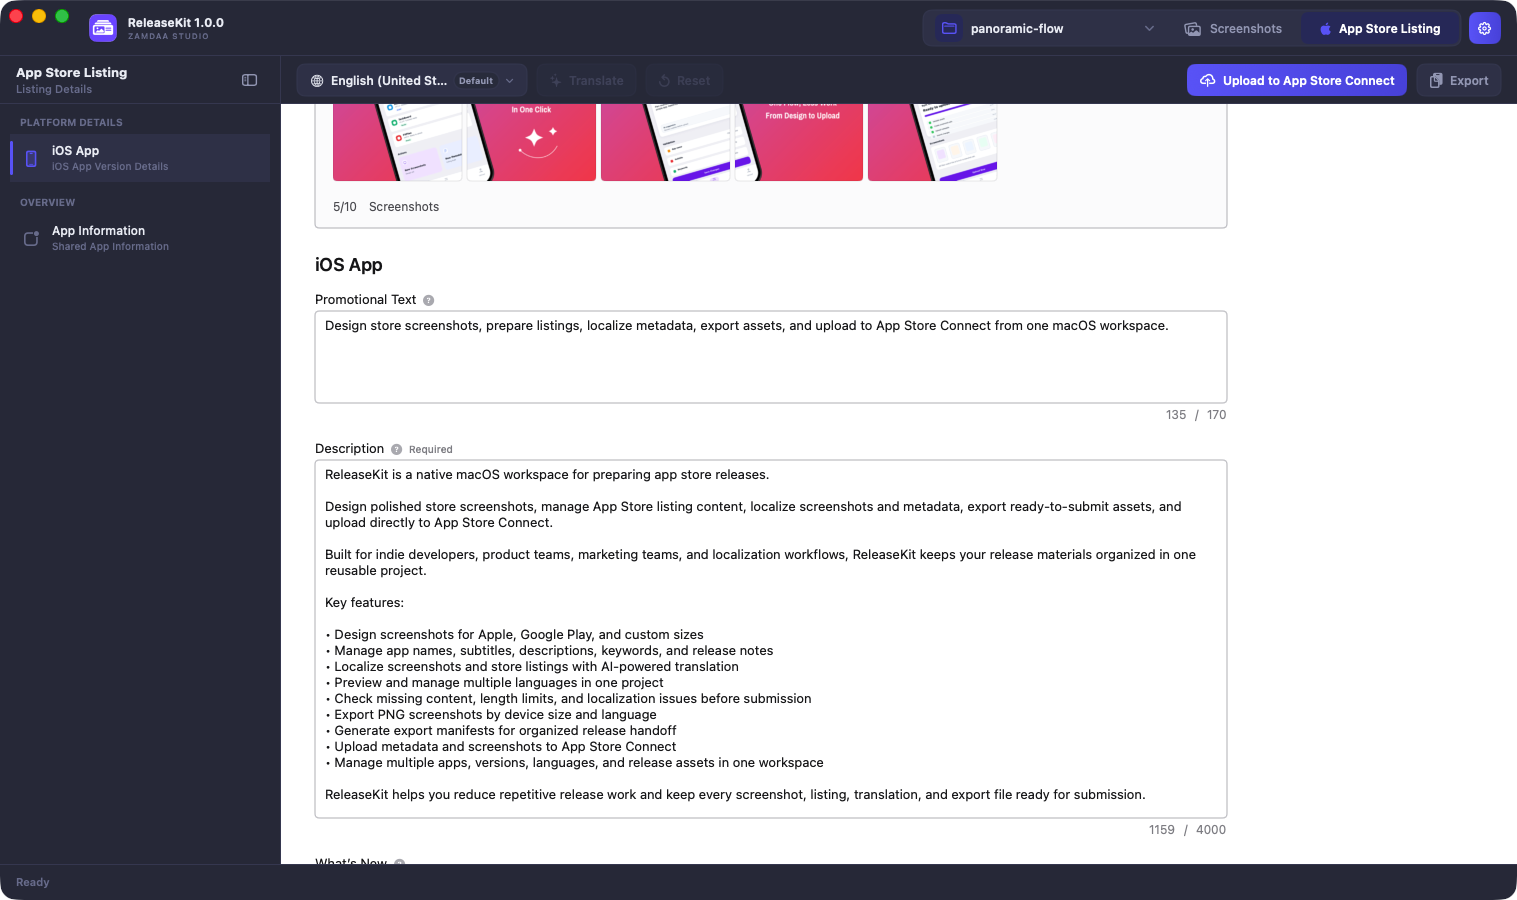
Launching an app is not just about uploading a build to App Store Connect. Before users download your app, they see your App Store listing first. That page needs to explain what your app does, who it is for, and why it is worth installing.
A strong App Store listing can help users understand your product faster and make a better decision. For indie developers, it can also improve conversion from search, ads, social posts, launch pages, and your own website.
This guide covers the key parts you should prepare before launch: app name, subtitle, keywords, screenshots, app previews, description, localization, privacy details, and review information.
1. Start with a clear positioning
Before writing any App Store text, answer one simple question:
What does this app help users do?
If you cannot answer that clearly, your listing will probably feel confusing.
A weak positioning sounds like this:
“An easy-to-use productivity app with powerful features.”
A stronger positioning sounds like this:
“A Mac app that helps indie developers prepare App Store screenshots, metadata, localization, and release assets faster.”
The second version is better because it explains the target user, the job, and the benefit.
Use this simple formula:
[App name] helps [target user] do [main job] so they can [main benefit].
Example:
“ReleaseKit helps indie developers prepare App Store screenshots, metadata, localization, and release assets so they can ship apps faster.”
2. Choose an app name that is easy to understand
Your app name should be memorable, but it should also make sense in context. A name that sounds creative but tells users nothing may be harder to sell.
If your brand name is abstract, your subtitle and screenshots need to explain the product quickly.
Good app name principles:
- Easy to read
- Easy to remember
- Not too generic
- Relevant to the product category
- Works well with the subtitle
Example:
“ReleaseKit – Ship Apps Faster”
This works because “ReleaseKit” is the brand, while “Ship Apps Faster” explains the value.
3. Write a subtitle that supports search and conversion
The subtitle appears below your app name across the App Store. It should quickly explain your app’s value or main use case.
A vague subtitle:
“Powerful tools for everyone”
A better subtitle:
“Screenshots, Metadata & ASO”
A strong subtitle is short, specific, and connected to what users might search for.
If your app is for developers, avoid overly broad words like “productivity,” “workflow,” or “tools” unless they are supported by more specific terms.
Better words for an App Store launch tool might include:
- Screenshots
- Metadata
- ASO
- Localization
- Release
- Listing
- Developer
4. Prepare your keyword field carefully
The keyword field is easy to rush, but it matters. Do not treat it like a sentence. Use concise, relevant terms that describe your app, category, and user intent.
For an App Store release tool, possible keyword themes include:
- app store
- screenshot
- metadata
- localization
- ASO
- listing
- release
- developer
- launch
Avoid unrelated keywords, competitor names, protected brand names, or misleading terms. The goal is not to trick search. The goal is to help the right users find your app.
A simple keyword draft might look like this:
aso,screenshot,metadata,localization,listing,release,launch,developer,app store
After launch, you can improve this by checking search impressions, downloads, and conversion data.
5. Make the first screenshots explain the outcome
Screenshots are one of the most important parts of your listing. Many users will look at screenshots before reading your full description.
Your first screenshots should not only show the interface. They should explain the result users get from the app.
Weak screenshot text:
“Beautiful interface”
Better screenshot text:
“Prepare App Store screenshots faster”
Weak screenshot text:
“Manage your content”
Better screenshot text:
“Organize metadata for every language”
Good screenshots usually do three things:
- Show the real product
- Explain the main benefit
- Focus on one idea per image
Avoid putting too much text on one screenshot. If users need to zoom in to understand it, the message is too dense.
For a developer tool, your first 3 screenshots could be:
- Prepare App Store screenshots, metadata, and localization faster
- Manage every language and release asset in one workspace
- Export clean assets for App Store submission
6. Add an app preview video only if it makes the product clearer
An app preview can help when motion explains the workflow better than static screenshots. For example, if your app has a clear step-by-step flow, a short video can make the value easier to understand.
A good app preview should show real app usage, not a generic promo animation.
Possible structure:
0–5 seconds: Show the main problem
5–15 seconds: Show the core workflow
15–25 seconds: Show the final result
25–30 seconds: End with the main value
Example flow for a release tool:
“Prepare your App Store listing”
“Create screenshots”
“Manage metadata and localization”
“Export release assets faster”
Keep it short. The goal is not to explain every feature. The goal is to make users want to learn more.
7. Write a description that sells the workflow, not just features
Your description should start with a clear value proposition. Do not open with generic marketing language.
Weak opening:
“ReleaseKit is a powerful and beautiful app for developers.”
Better opening:
“ReleaseKit helps indie developers prepare App Store screenshots, metadata, localization, and release assets in one native macOS workspace.”
After the opening, explain the main workflow:
- What users can create
- What they can organize
- What they can export
- Why it saves time
- Who it is built for
A simple description structure:
- Main value proposition
- Main features
- Target users
- Key benefit
- Call to action
Example:
“ReleaseKit helps indie developers and small teams prepare App Store release materials faster. Create screenshots, manage metadata, organize localization, and export assets from one focused macOS app.”
Then list features:
- Create and organize App Store screenshots
- Manage names, subtitles, descriptions, and keywords
- Prepare localized metadata
- Export release assets
- Keep your launch workflow organized
End with:
“Download ReleaseKit and prepare your next App Store release faster.”
8. Localize more than just the words
Localization is not only translation. A good localized listing should feel natural to users in that market.
Before launch, prepare at least your main language and your most important secondary language.
Do not blindly translate every sentence word for word. Some phrases that sound good in English may feel unnatural in another language.
Check these items for each localization:
- App name
- Subtitle
- Keywords
- Screenshots
- Screenshot text
- Description
- Promotional text
- App preview captions, if used
9. Make pricing and in-app purchases easy to understand
If your app has subscriptions, lifetime purchase, or paid features, users should not feel surprised after downloading.
Before launch, check:
- Is there a free version?
- What does Pro unlock?
- Is there a monthly plan?
- Is there a yearly plan?
- Is there a lifetime option?
- Does the app explain this clearly before purchase?
Confusing pricing can hurt trust. Clear pricing helps users decide faster.
10. Prepare privacy details carefully
Privacy information matters, especially for developer tools, productivity apps, and apps that handle user-generated content or project data.
If your app does not collect data, that can be a strong trust signal. Mention it clearly if it is true.
Example:
“Your release data stays on your Mac.”
Or:
“ReleaseKit is designed as a local-first macOS app for managing App Store release materials.”
Do not make privacy claims that are not accurate. Your App Store privacy label, website, and in-app behavior should match.
11. Prepare App Review information before submission
Your App Store listing is not only for users. Some information is also needed for App Review.
Before submitting, prepare:
- A clear explanation of what the app does
- Test account details, if login is required
- Notes for reviewers, if a feature needs explanation
- Subscription or purchase instructions, if relevant
- Demo video, if the workflow is not obvious
- Contact information
If your app has account creation, paid features, user-generated content, permissions, or special workflows, make sure reviewers can test them easily.
A reviewer should not need to guess how your app works.
12. Check your listing before launch
Before you publish, review the whole App Store page as if you are a new user.
Ask:
- Can I understand the app in 10 seconds?
- Is the target user obvious?
- Does the subtitle explain the value?
- Do the first screenshots show benefits, not just UI?
- Are the keywords relevant?
- Is the description easy to scan?
- Are the privacy claims accurate?
- Are all localizations complete?
- Is pricing clear?
- Does the website match the App Store page?
If the answer is no, fix the listing before sending traffic to it.
Final launch checklist
Before launch, prepare:
- App name
- Subtitle
- Keywords
- Description
- Promotional text
- Screenshots
- App preview video, if useful
- App category
- Privacy details
- Pricing and in-app purchases
- Review notes
- Website link
- Support link
- Localized metadata
- Localized screenshots
- App Store badge for your website
A better App Store listing does not guarantee downloads, but it removes confusion. It helps the right users understand your app faster, improves trust, and gives your launch traffic a better chance to convert.
For indie developers, that matters. You may not have a large marketing budget, so every visitor needs to understand your app quickly.